Enquiry Now

 Contact Us


 Check Out
 +44 20 4571 2395

 PRINCE2® Foundation and Practitioner Training


 Aaron Charlie
 9 Jul 2011

How to Customise Your Google+ Profile Page
Check out our updated post on how to get the perfectsocial media cover photos;including for the new Google+ Layout.Download and unzip our Photoshop Template |
|
Step 2:
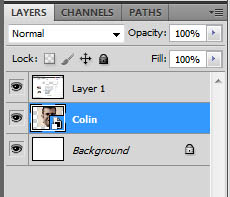
Open up the template in Photoshop. We've left the images of my face in the template so you can see how it all works - but if you don't want to see my face (and I can sympathise with your position if you don't) then either hide or delete the "Colin" Layers!
Next you'll want to import the image (or images) that you want to use in your own profile.
To do this, select File > Place and select your image file.
Drag and resize it so its in the correct position, and hit enter to place it:
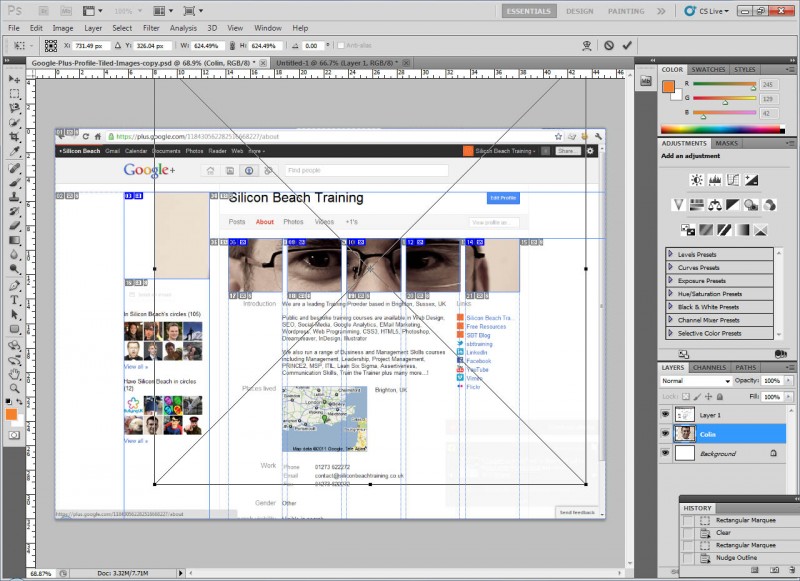
Click on the image for full size version
The image you've placed should be in its own layer beneath the "Layer 1" layer - if it's not, just drag it there in the layers panel so that it looks like this:
Now you can move your image around under the template to see how it will look on your live profile. If you need to move or re-size your image again - select the layer and use Edit > Transform > Scale to get it in the right place.
Repeat the process for any other images you want to place to get the desired effect - if you want a design that spills over on to your main profile image in the top left - add another image that lines up here too.
Step 3:
Once you've got your Google+ profile design looking like you want it, you'll need to export the images so you can upload them to your profile.
To do that, hit File > Save for Web and Devices and a new dialog box will open - select the file type (jpeg is usually best) and the image quality you want and hit save:
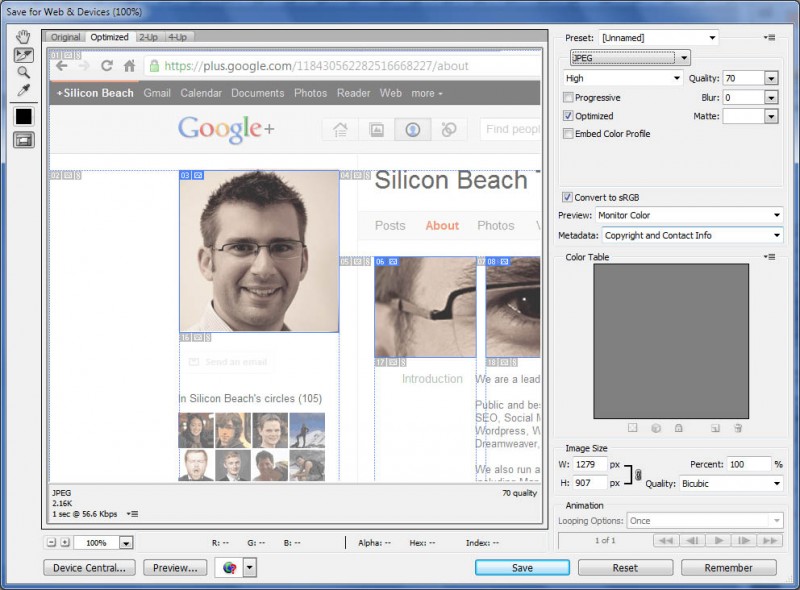
Click on the image for full size version
Now a new dialog box will open - navigate to the location that you want to save the images in (best to make a new folder somewhere for them so they don't get lost). Importantly - make sure you select All User Slices in the Slices drop-down at the bottom.
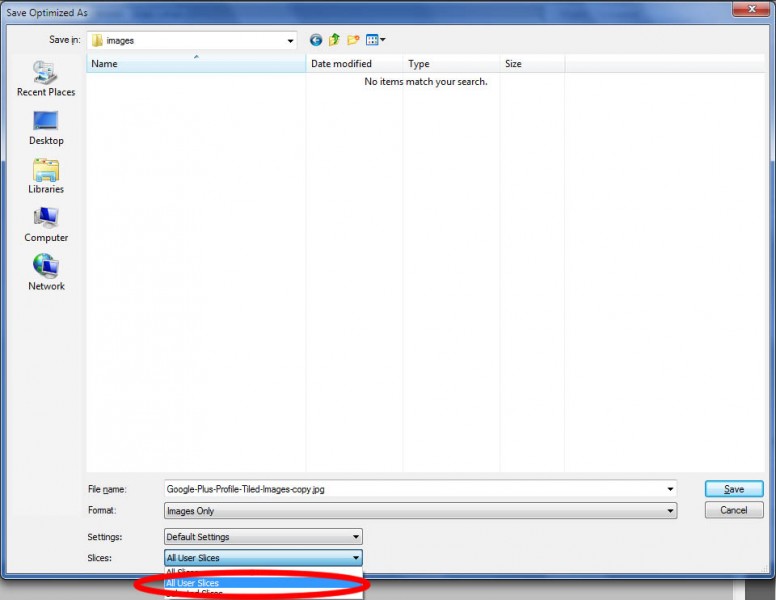
Now hit save, and Photoshop will save all of the images ready to be uploaded to your Google+ Profile
Step 4:
OK - Now you're ready to upload your images to your profile - so:
1. Log in to your Google+ account
2. Navigate to your Profile
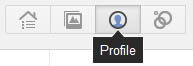
3. Hit Edit Profile
![]()
4. Now click on the "Add Some Photos Here" box at the top (if you already have photos there, click on them to edit and delete them) - this should look like this:
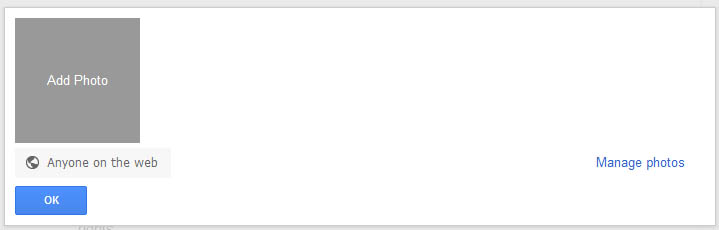
5. Navigate to the folder where you saved your images, and select the image that appears furthest LEFT in the row first:
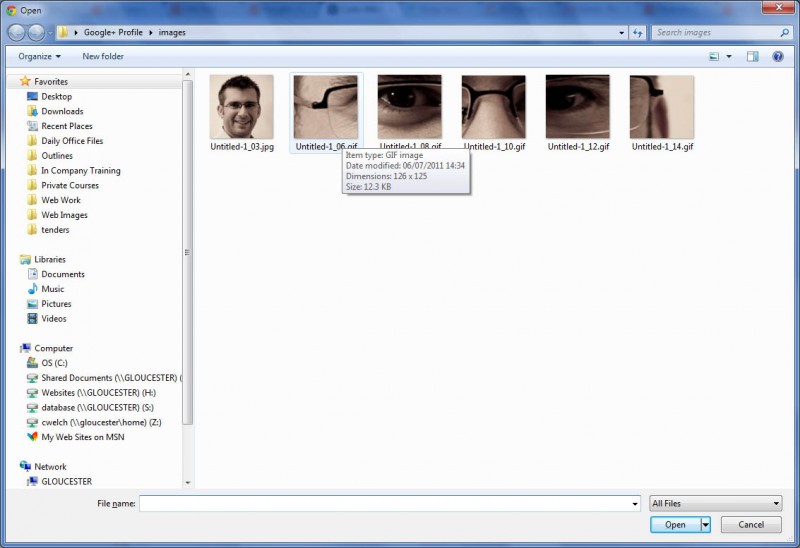
Repeat the process, selecting the images one by one from right to left until you have them all in a row and hit OK when you're done.
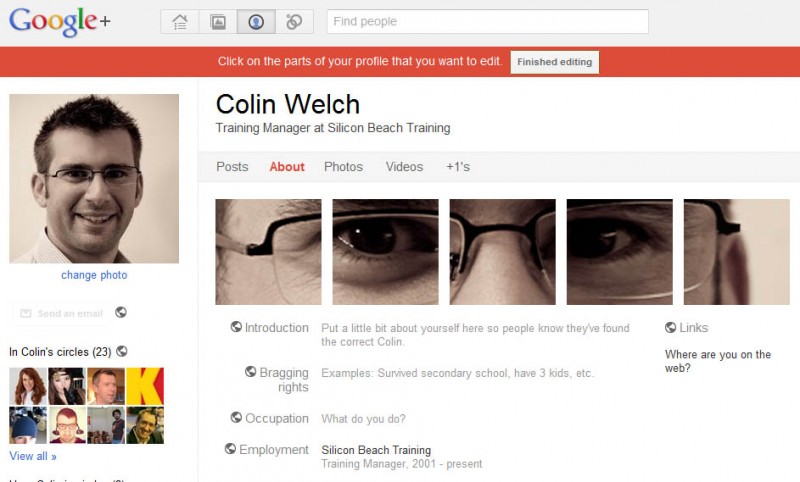
Hey presto! your tiles images looking super-cool on your profile page.
If your design also included a main profile image (top left), click on Change Photo under your profile image and upload this too.
When all is well - hit Finished Editing and your new profile is good to go:
Now you can go ahead and tell everyone about your amazing new Google+ Profile design!
Don't forget - these images appear in the About page of your profile, so if you're sending people the link, make sure it's like this
Happy Pimping! We look forward to seeing your designs!
If you need to know how to use Photoshop to create web graphics all of this is covered in our Photoshop for the Web training course.
Posted under:
 Need Any Help?
Recent Blogs