Enquiry Now

 Contact Us


 Check Out
 +44 20 4571 2395

 PRINCE2® Foundation and Practitioner Training


 Aaron Charlie
 30 Nov 2012
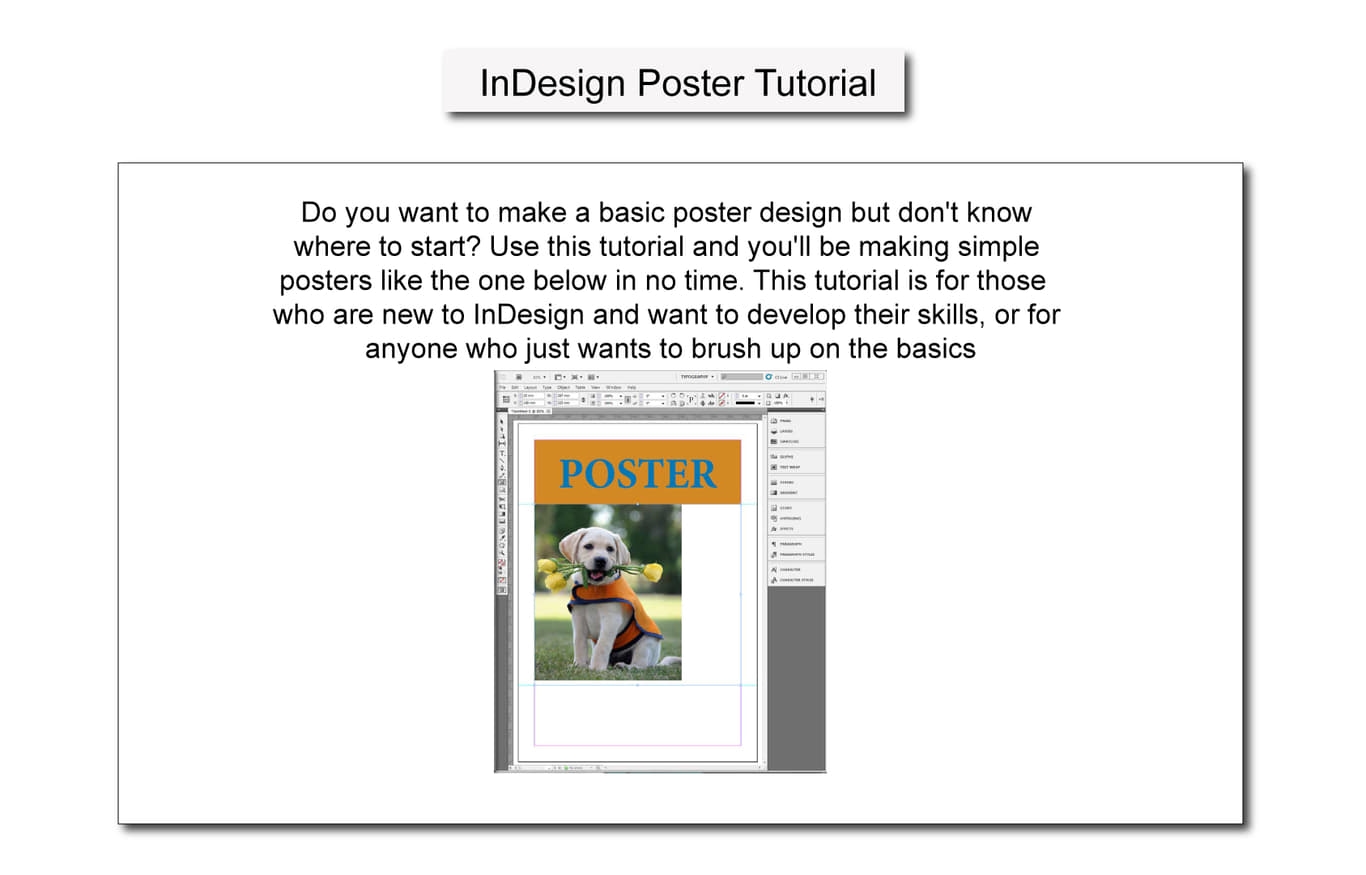
InDesign Poster Tutorial
Do you want to make a basic poster design but don't know where to start? Use this tutorial and you'll be making simple posters like the one below in no time. This tutorial is for those who are new to InDesign and want to develop their skills, or for anyone who just wants to brush up on the basics.
If you want to learn more skills for creating posters and other similar projects, try one of our Adobe Courses which include InDesign and Illustrator or one of our popular Photoshop Training Courses.

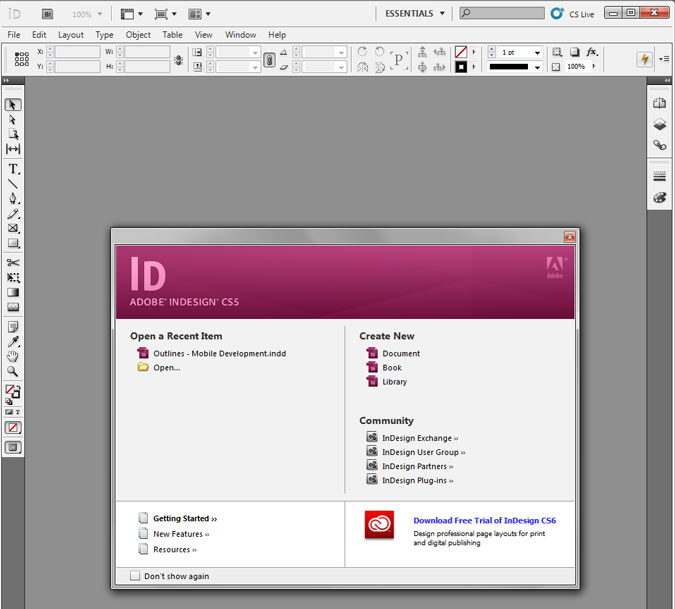
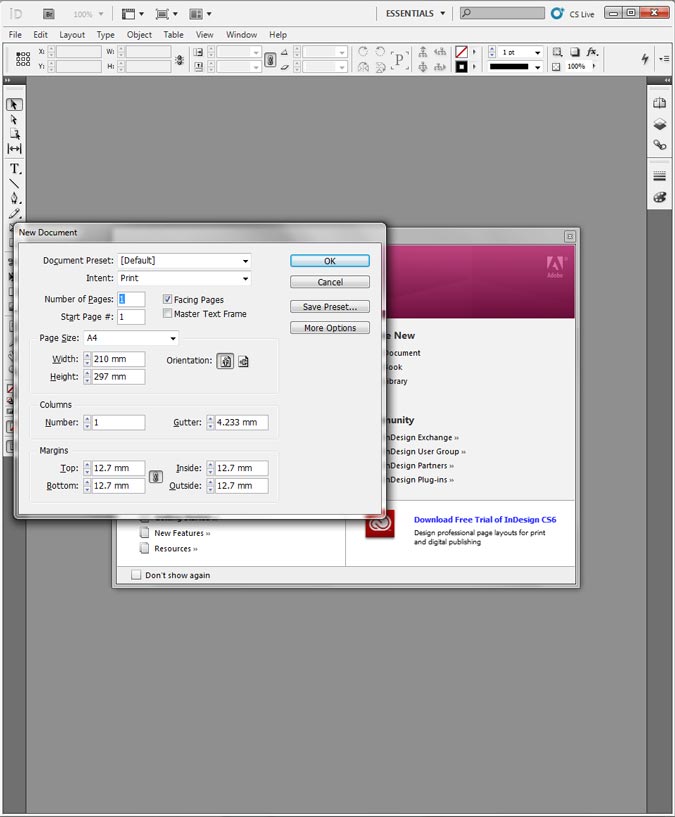
Firstly, open the program and click on the "Create New - Document" button

The document setting screen will appear. Choose the page size - for this example we will use A3 - and the margin size. It's good to have around 20 mm of margin for a project like this. Put the same value as the margins in the "Gutter" box.
Make sure you un-check the "Facing Pages" box, keep the default "portrait" setting and then press OK.
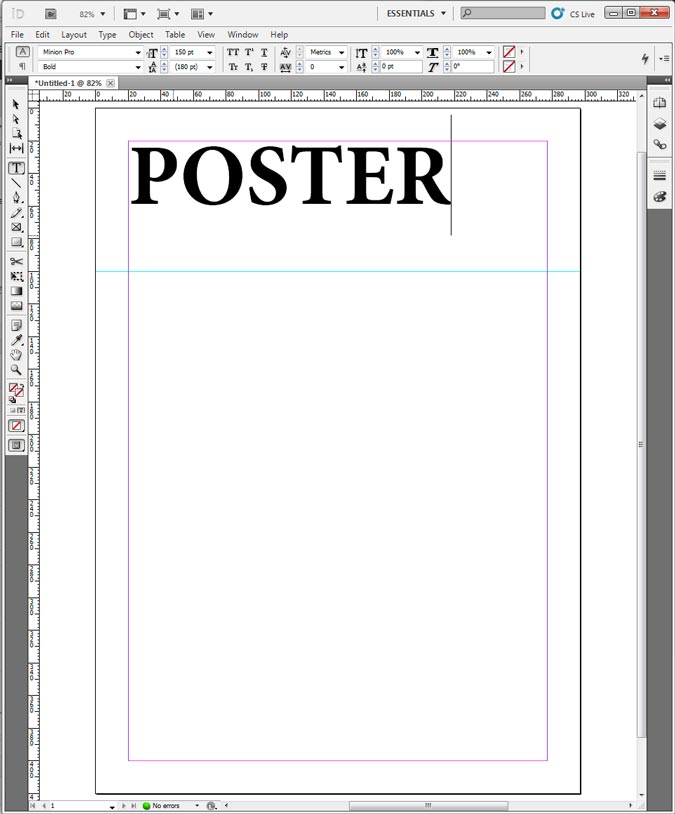
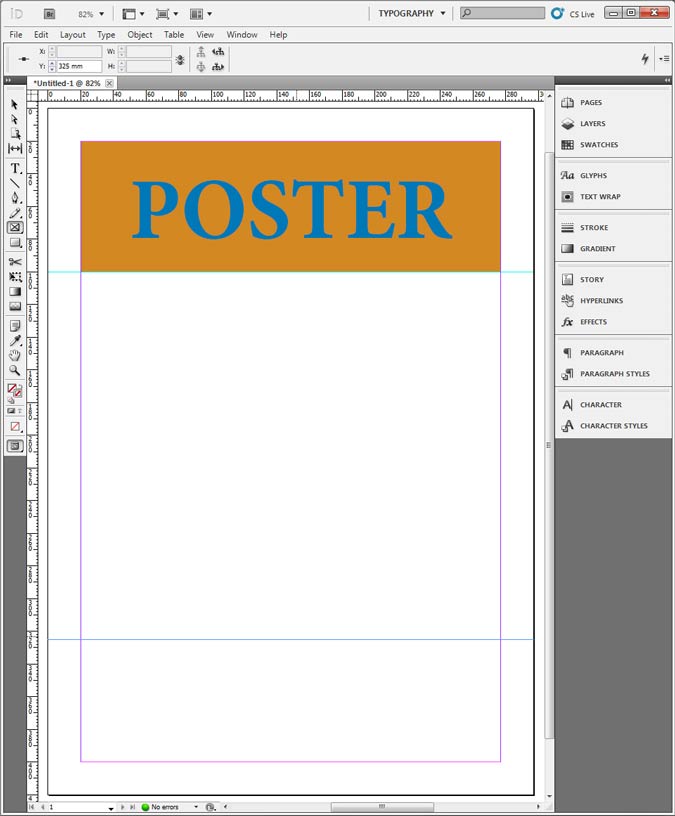
To create a title or standout piece of text at the top of the page, firstly click on the "T" button on the left-hand toolbar. This will give you the option of creating text box. Then click on the ruler bar at the top of the page and drag a "guideline" down to the point where you want the text box to end. If you notice in the top corner, there is a box that measures the size of this guideline. Make it 100mm. To learn how to make a poster template so you don't have to do this formatting each time you create one, check out our post "Creating Templates in InDesign CS5".
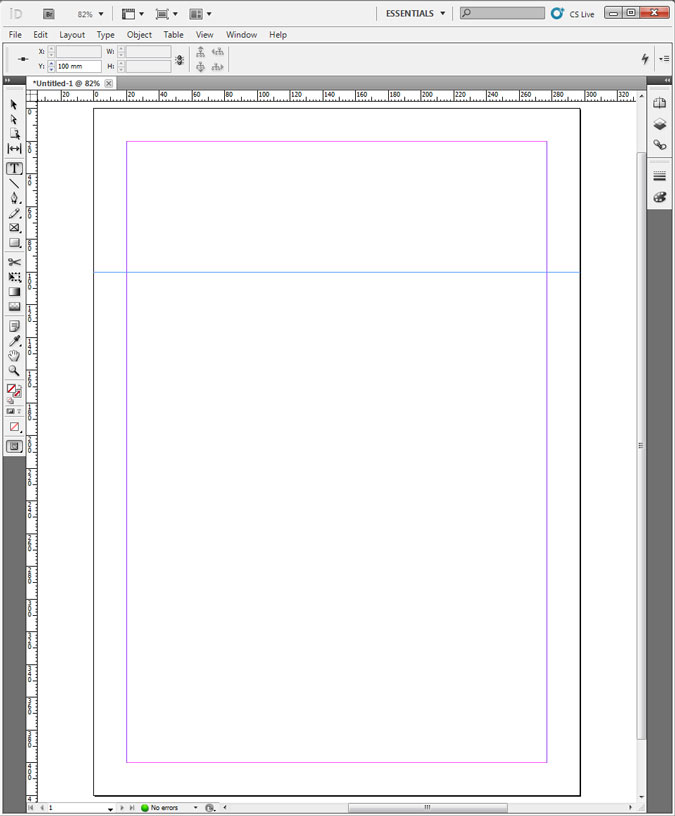
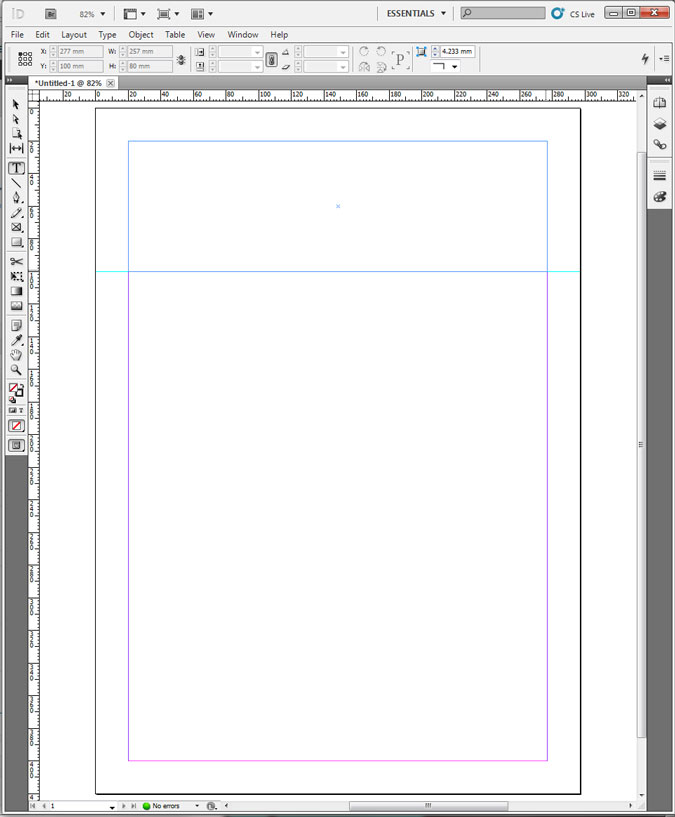
Next, drag the cursor from the top corner of the inner margin to the opposite bottom corner of the guideline. Before you release the button it should show a blue selection line like this:
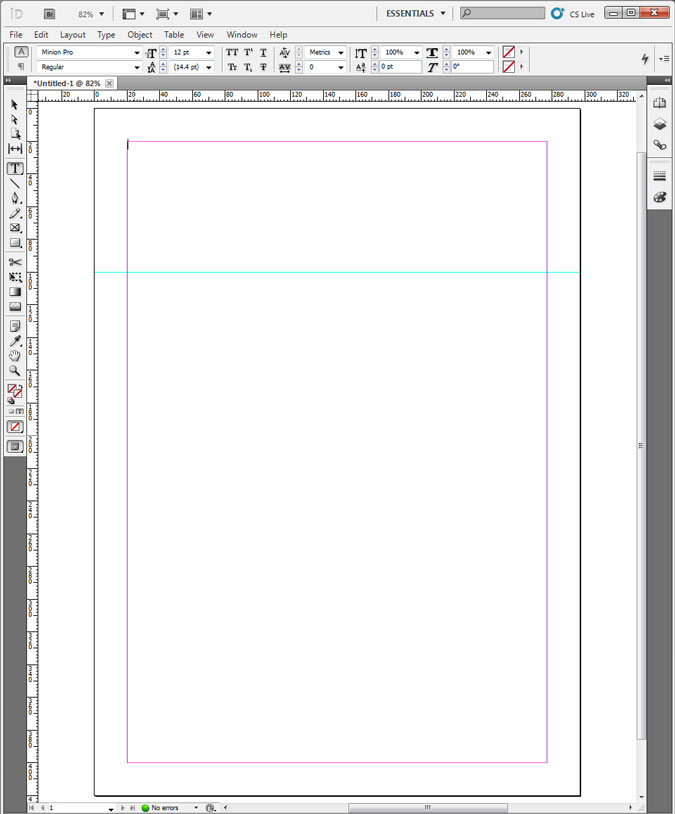
Now, press the "A" symbol just below file in the top left corner and a different "text" tool bar will appear at the top of the screen
You can now choose the font style and size for your title. We'll keep the Minion Pro font for now, but change the size to 150 pt. You can also decide to make the text bold or italic. For this, choose Bold.
Then write your text.
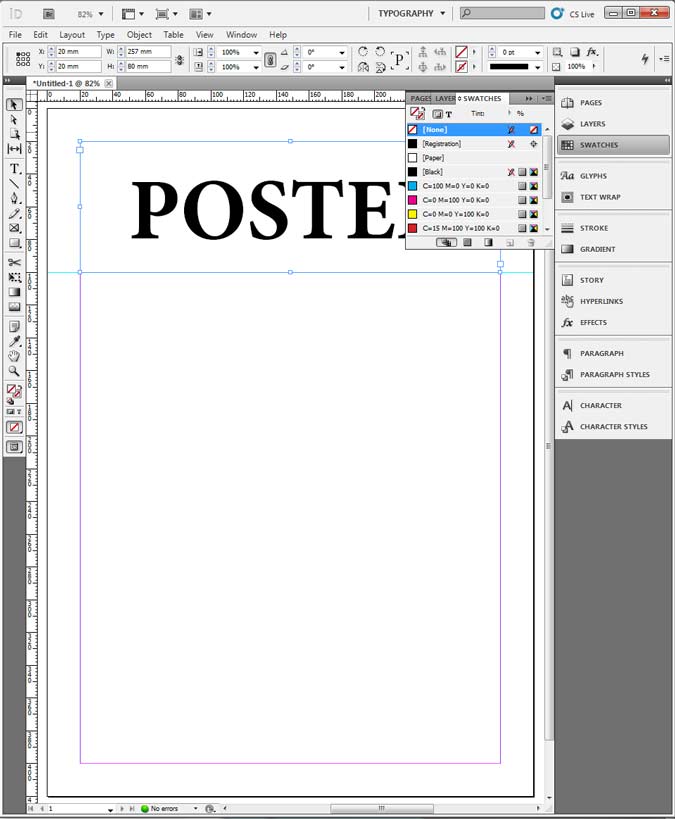
You'll notice that the text is aligned left. For a poster, you'll probably want the text centred so the easier way to do this is to change the right hand tool bar from Essentials to Typography by picking from the drop down menu at the top of the screen.
Click on the option that says paragraph and a formatting box appears. Click on the selection arrow at the top of the left tool bar and then on the text box.Then click on the centre button in the formatting box. Then also click on the align centre in the top tool bar to move the text into the middle (vertically) of the box.

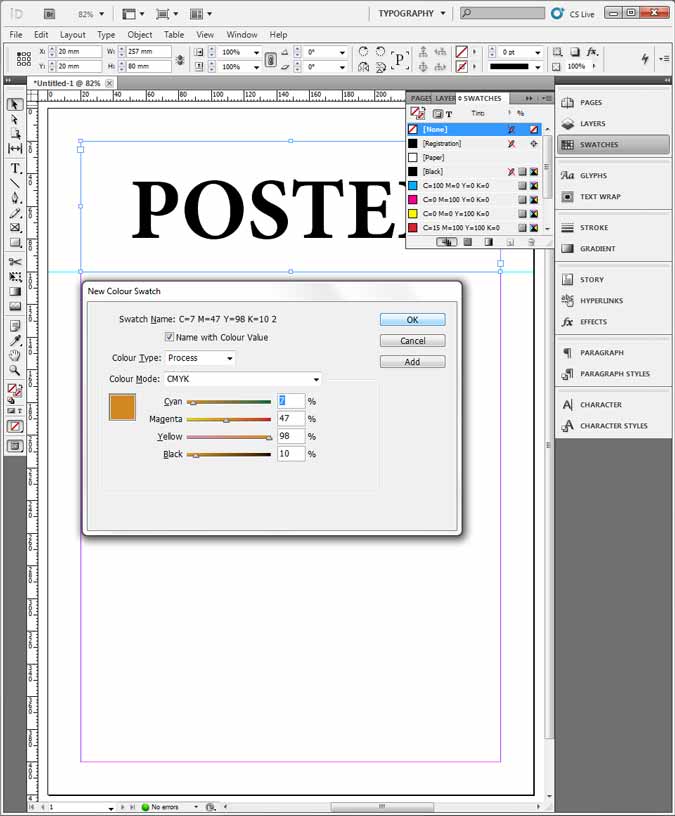
Now to add some colour. Click on the swatches tab in the right tool bar and you'll notice two small buttons: a square and a "T". We want to fill in the background first so make sure the square button is clicked in. You can choose from a default colour or you can create a custom one by pressing the button in the top corner of the box and selecting new colour swatch.
For this we will be using a quite vibrant orange.
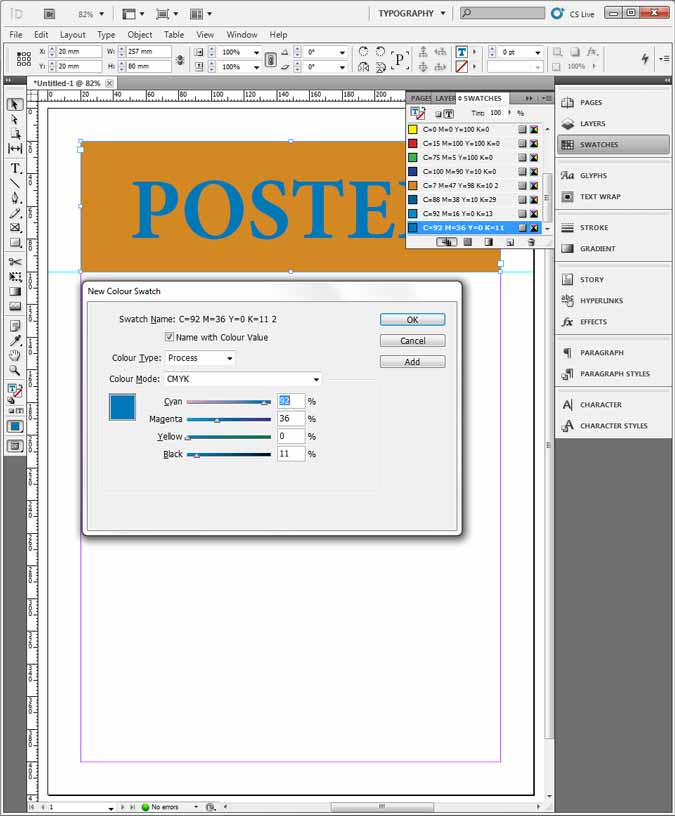
Click OK and the text box will be filled with your custom colour. Now to change the colour of the text. Click the "T" button in and go through same steps as for the fill colour, picking a different colour to stand out. We'll use blue.
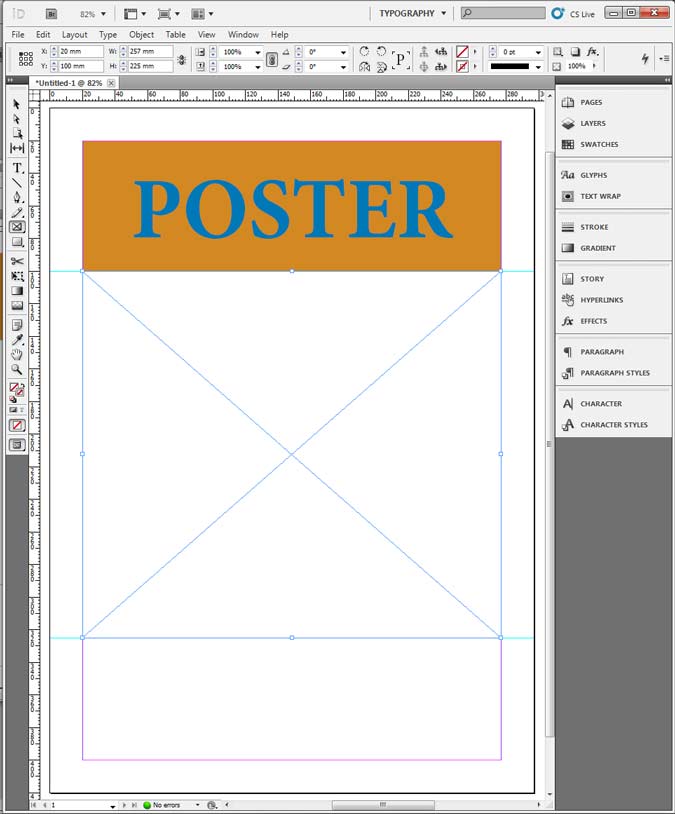
That's the title done. Now you'll probably want some kind of image as the bulk of the poster. For this, select the rectangle frame tool on the left side bar and again drag the cursor from the top ruler down to the bottom point of where you want the picture to be, like this:
Next, drag the cursor from the top corner of where you want the picture to the guideline you've just made, which should look something like this:
Go to File, Place and find the image you want and press OK. It will appear like this in the box you've made.
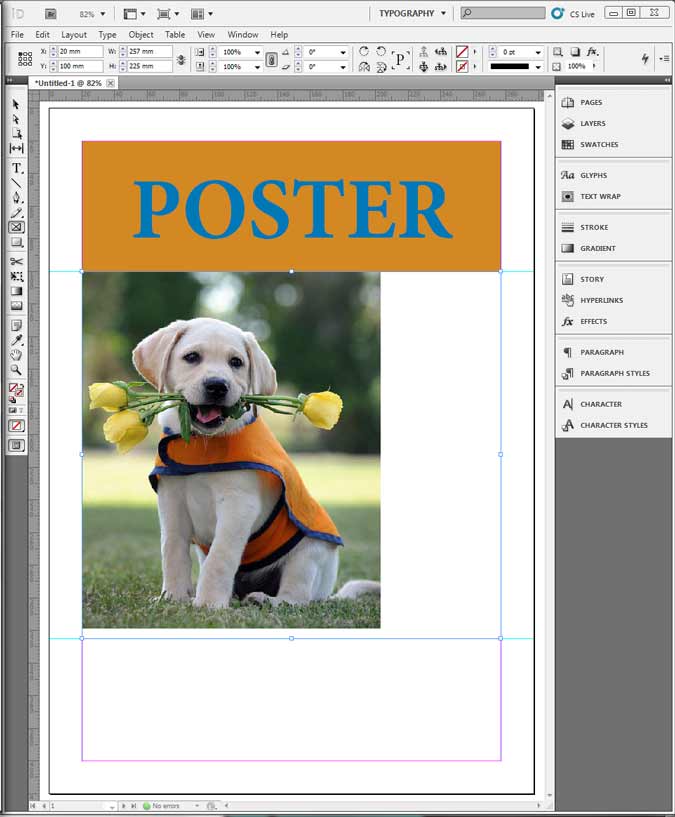
To get the picture to fit the box, right click and press "fitting", "fit frame proportionally". You can then adjust the image to the size and fit you'd like by dragging on the outer lines of the box
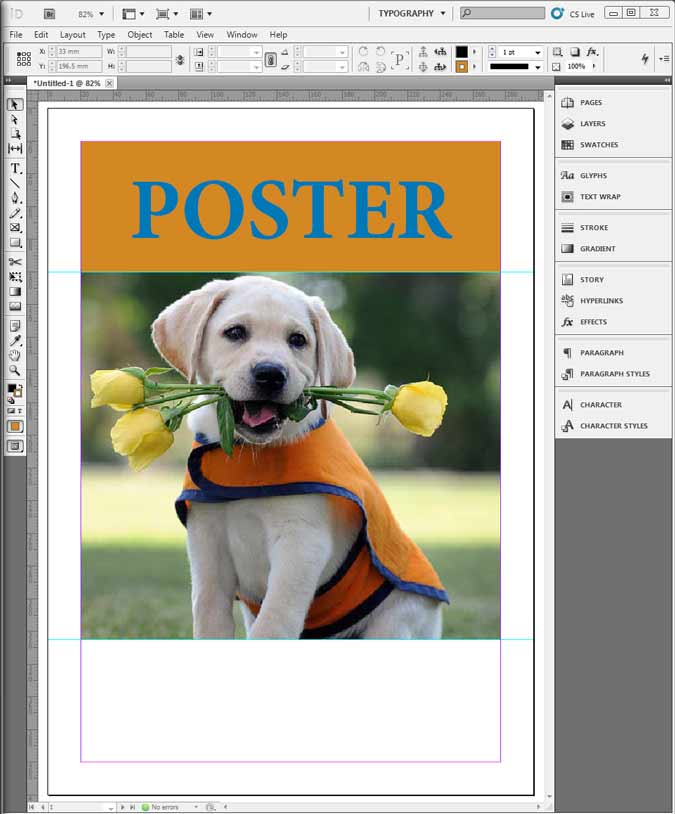
Nearly there, but we still have some white space at the bottom of the page that we want to fill with more text. So do the same as the title: click on the "T" in the left sidebar and make your text box fit the remaining white space. Choose on the selection arrowclick on the text box and then swatches and fill with custom colour you've made.

You may well want to change font here, or you can keep it the same. We'll change it to Mistral and set the font size as 120 pt. Centre horizontally and vertically.
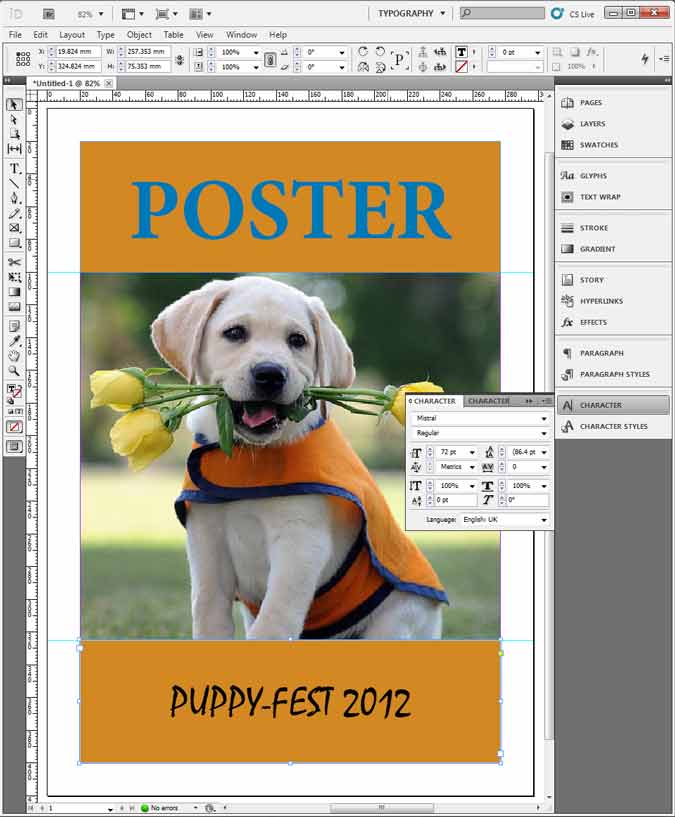
Finally pick the custom text colour as before. To see the finished product without the guidelines go to view, grids & guides and hide guides.
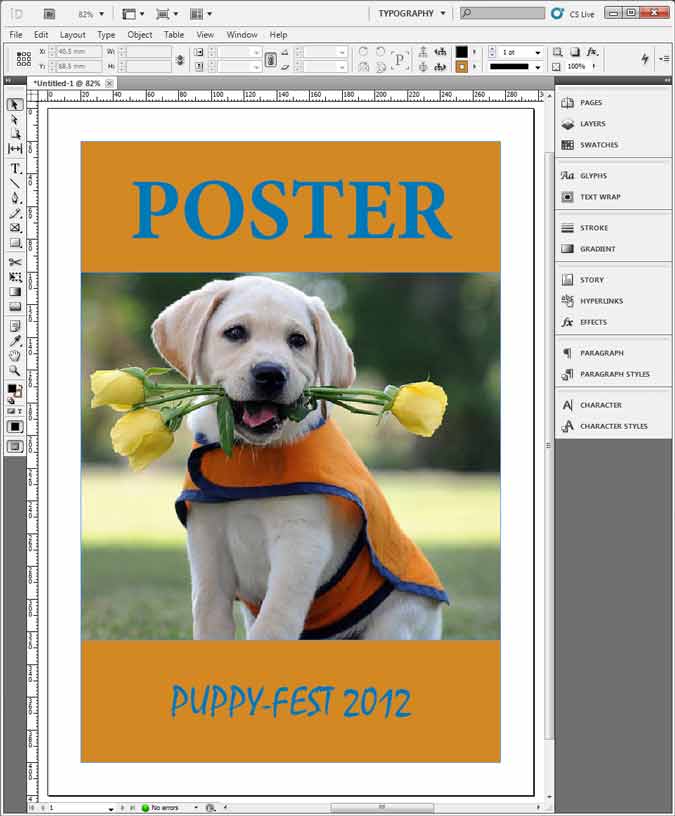
And there you have it, as basic poster format in InDesign. As your skills develop you'll be able to introduce more complex elements to the project, but an outline like this is always a great base to start from.
Posted under:
 Need Any Help?
Recent Blogs