Enquiry Now

 Contact Us


 Check Out
 +44 20 4571 2395

 PRINCE2® Foundation and Practitioner Training


 Heather Buckley
 27 Oct 2010
Email Marketing Using Dreamweaver
Want to create emails directly using HTML and CSS? Great news - we've just launched our HTML Emails Training course!
How to Create Email Templates using Dreamweaver
Dreamweaver's template feature makes it really easy to adapt existing HTML email designs to suit your brand with minimum time and effort. Email Marketing is enjoying a bit of a renaissance at the moment as people are more being selective about whom they wish to receive promotional material from. Keep your emails relevant and well designed and they can be an extremely effective sales tool and a way of interacting with your customers.
To learn more about the effectiveness of Email Marketing you could enrol on one of our Email Marketing Training in Brighton, Sussex.
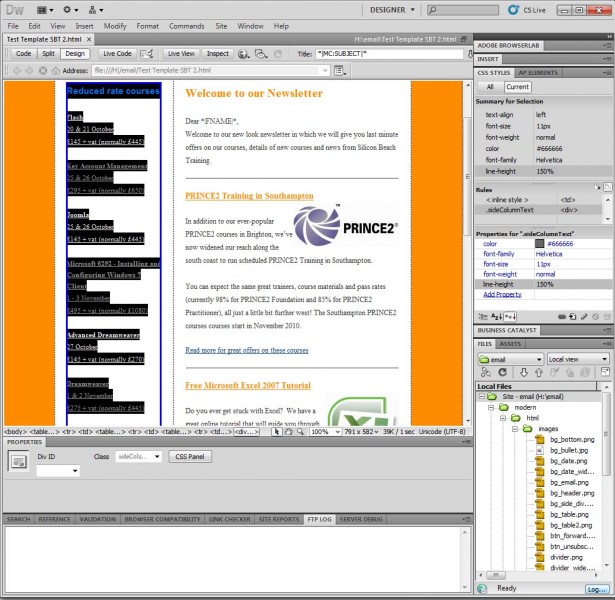
- Simply download a free email template from one of the many available on-line, just type in Free Email Templates into Google, this one is a good start. If you know Dreamweaver already and a bit about design you could design one yourself (See our Dreamweaver Training course if you need some help) . We are going to show you how to create the template not how to design it, if you need help with web design we offer a great Web Design Week here in Brighton which includes Photoshop Training for the web.
- Open up one of the templates (HTML file) that you have downloaded in Dreamweaver.
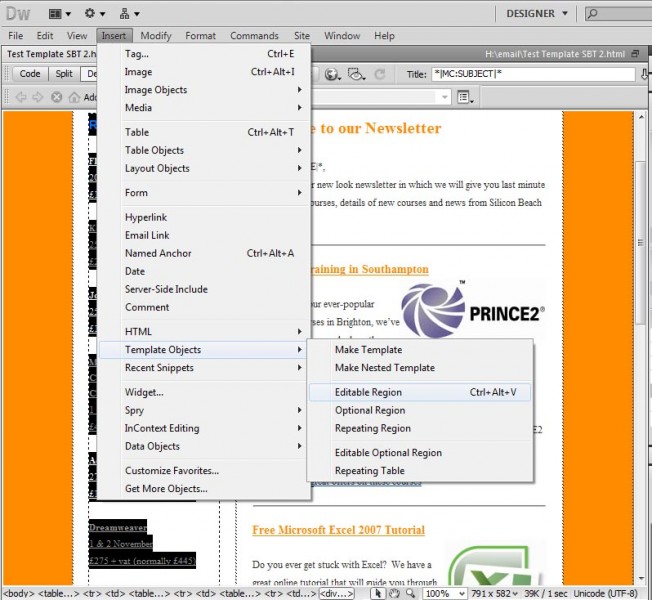
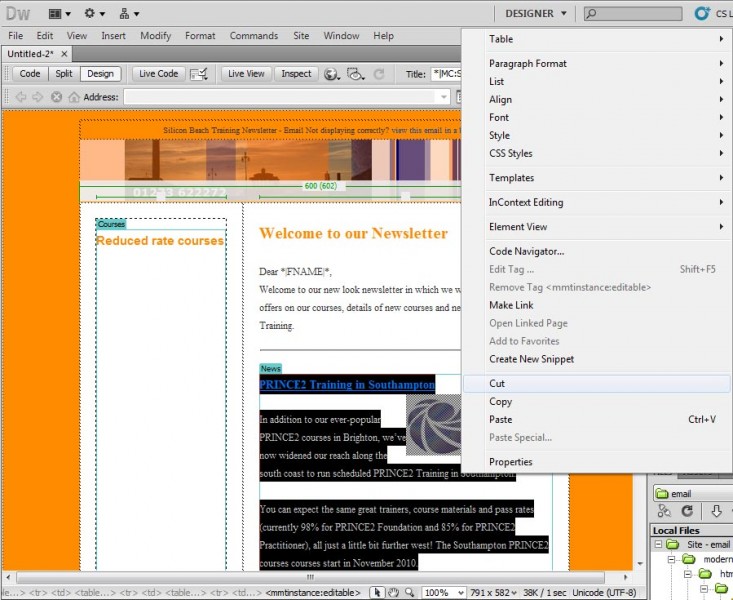
- Create an Editable Region by selecting the areas of text or images that you will need to change for each email/newsletter.

- Go to "Insert"> "Template Objects" > "Editable Region." (or CTRL + ALT + V) Give the new Editable Region a sensible name and hit "OK." - repeat for everything you want to be able to change later.
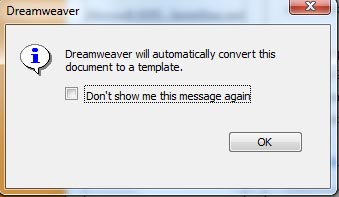
- Go to "File" > "Save as Template" and give your template a name
- Close your template.
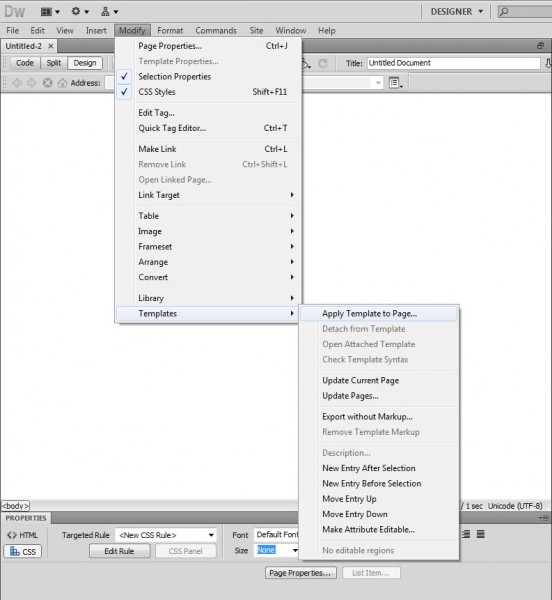
- Open a new HTML file in Dreamweaver.
- Choose "File"> "Modify">"Templates" and select the template you have just created.
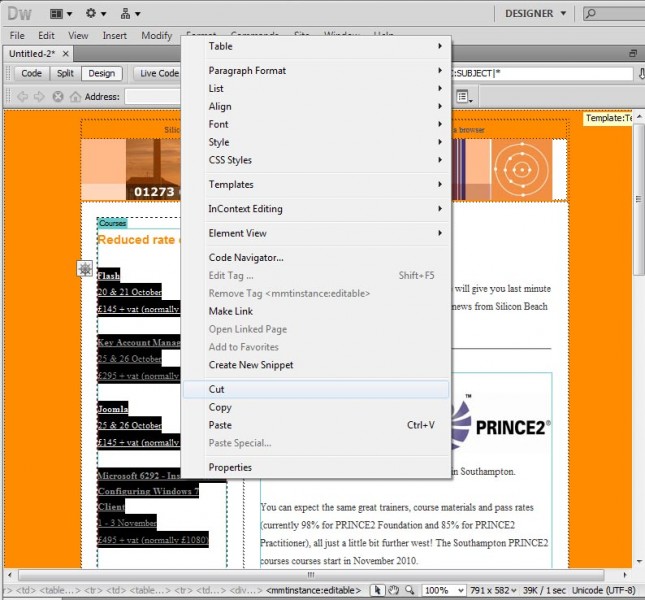
- Change the text and images in the Editable Regions.
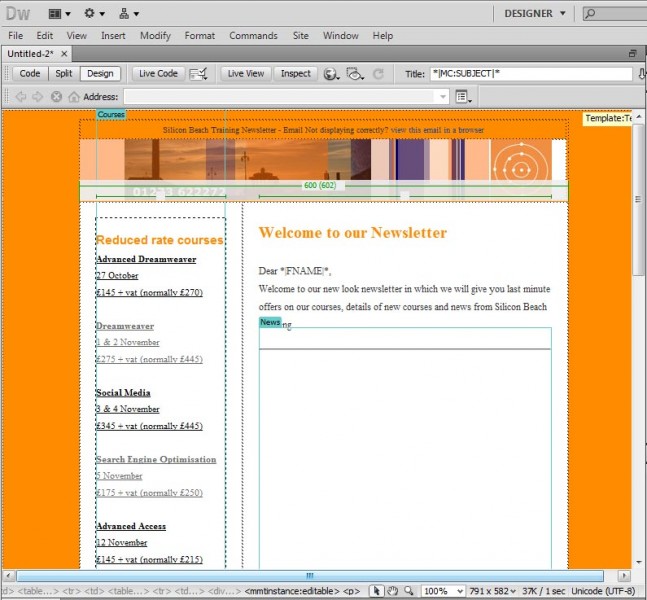
- Choose "File"> "Save"> give the HTML file a unique name and hit "Save."
- If you need to change any areas that are non editable you will need to open up the original template file and make edits to the areas that are not selected as an "Editable Region."
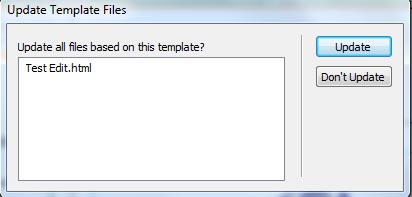
- Choose "File" > "Save All." Don't forget to update all files based on this template by hitting "Update."
- Your HTML email should be good to go and you can change it whenever you wish.
Posted under:
 Need Any Help?
Recent Blogs